Disclaimer This site contains affiliate links. I may earn a small commission if you place an order through my links, at no extra cost to you.
Having a hard time keeping your makeup neat and accessible? Trust me, you’re not alone. If your mascara somehow always ends up buried under a pile of lip glosses, or your bronzer mysteriously goes missing the second you actually need it, I’ve been there.
In this post, I’m walking you through the exact steps I use to keep my makeup organized, cute, and clutter-free, even in a small space. These tips are simple, doable, and honestly kind of fun. So grab your coffee (or matcha, if you’re fancy like that) and let’s get into it.
Step One: Gather All Your Makeup
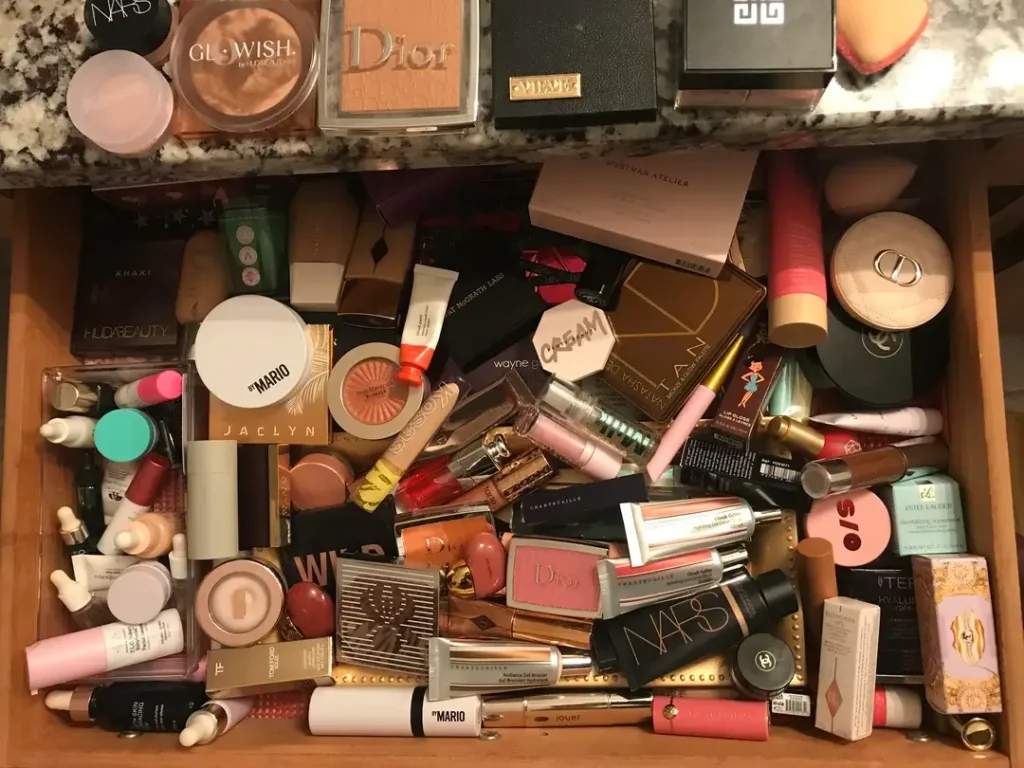
First thing’s first, we’re going on a little scavenger hunt. Open your purse. Check the bottom of your tote bag. Peek in that “junk” drawer you swore wasn’t going to turn into a black hole of forgotten beauty products. It’s time to gather everything. And I mean everything.
This part might feel a little chaotic, but trust the process. Once you see it all in one place, you’ll finally understand why your bathroom counter has been feeling like a war zone.
Now comes the not-so-fun but totally necessary part: decluttering.
Start tossing:
- Empty containers (why are they even still here?)
- Expired products (yes, makeup expires, even that eyeshadow you’ve had since college)
- Things you just don’t use anymore (the neon lipstick from Halloween 2020 doesn’t need to haunt you anymore)
Seriously, be honest with yourself. If it’s crusty, dusty, or makes your skin break out, it’s got to go. And if you’re wondering how you ended up with five nearly identical nude lipsticks, well… welcome to the club.
Step Two: Clean Your Products
Before we get into organizing, let’s take a quick moment to give your makeup the spa day it deserves.
Wipe down compacts. Clean off lip gloss tubes. Wash your brushes and sponges. (Here’s a full guide on how to clean your makeup tools if you need it.)
Not only will your makeup look fresher, but your skin will thank you. Plus, who doesn’t feel more put together when everything is sparkling clean?
Step Three: Sort by Product Type
Okay, now for the fun part. Let’s sort this stuff out.
Group everything by type:
- Foundations and concealers
- Blushes, bronzers, and highlighters
- Eyeshadows
- Lipsticks and glosses
- Brushes and tools
Why? Because everything deserves its own little home. When you know exactly where each product lives, getting ready in the morning is way easier. And you won’t accidentally lose your favorite lip liner again (guilty as charged).
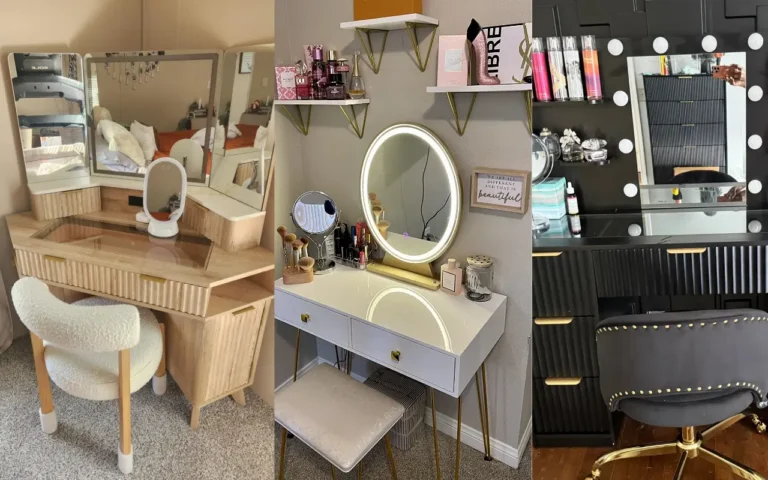
Step Four: Choose Your Storage Spot
Now let’s figure out where your makeup is going to live. Ask yourself:
- Do you prefer it on display or stored away?
- Are you working with drawers, a vanity table, or just a tiny bathroom counter?
- Do you want clear containers so you can see everything, or would you rather it be out of sight?
Your answers will help you pick the perfect organizer. I always say your makeup should work with your routine, not against it. So choose a storage setup that actually makes sense for how you live, not just what looks pretty on Pinterest (although we love that too).
Step Five: My Favorite Makeup Organizers
Alright, now I’m letting you in on my absolute favorite makeup organizers that have totally changed the game for me.
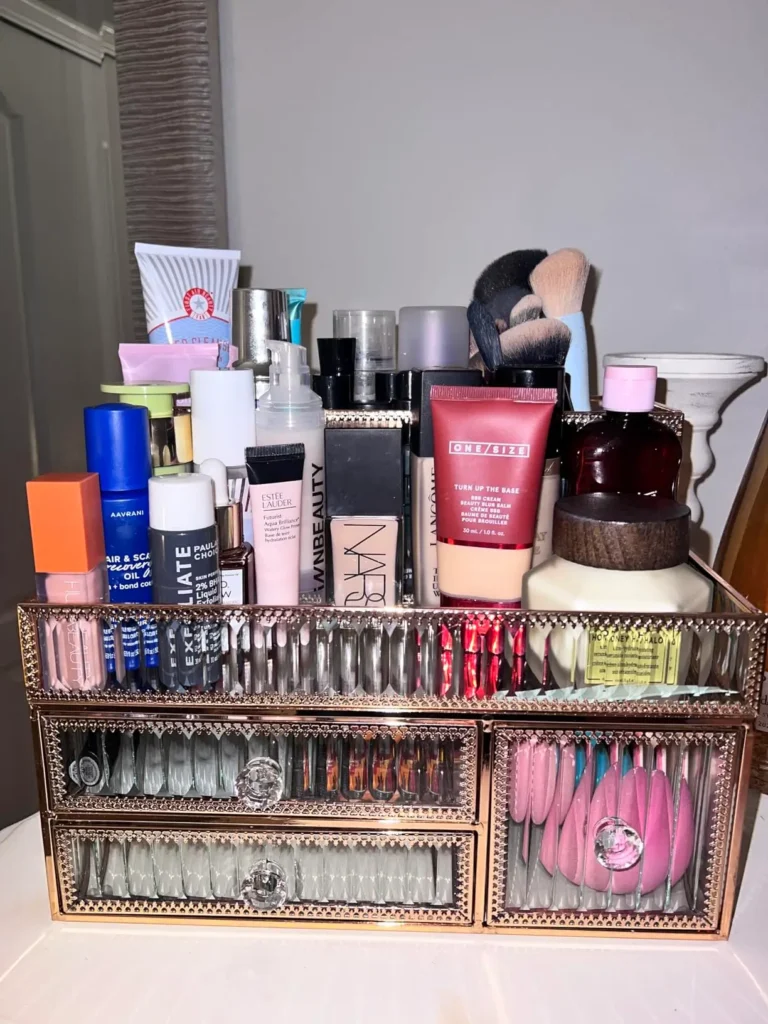
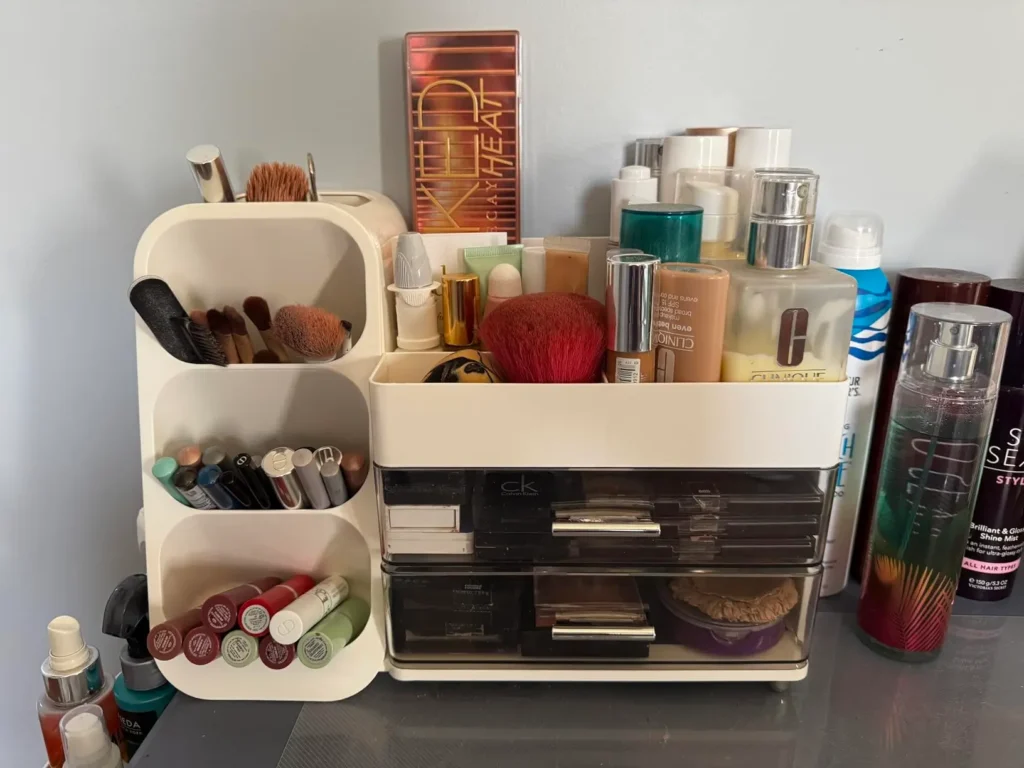
Tempered Glass Makeup Organizer
I’m obsessed. Like, full-on in love.
This one is a tiered tempered glass organizer that looks and feels luxurious. The second you pick it up, you can feel the weight of it. It’s solid, not flimsy plastic that cracks after two weeks. It’s also super customizable, which I love, because everyone’s makeup stash is a little different.
It’s stunning on a vanity, ridiculously easy to clean, and it honestly makes me feel like I have my life together every time I use it. I would 100 percent gift this to a friend, or just treat yourself because, let’s be real, you deserve it. Ten out of ten. No notes.


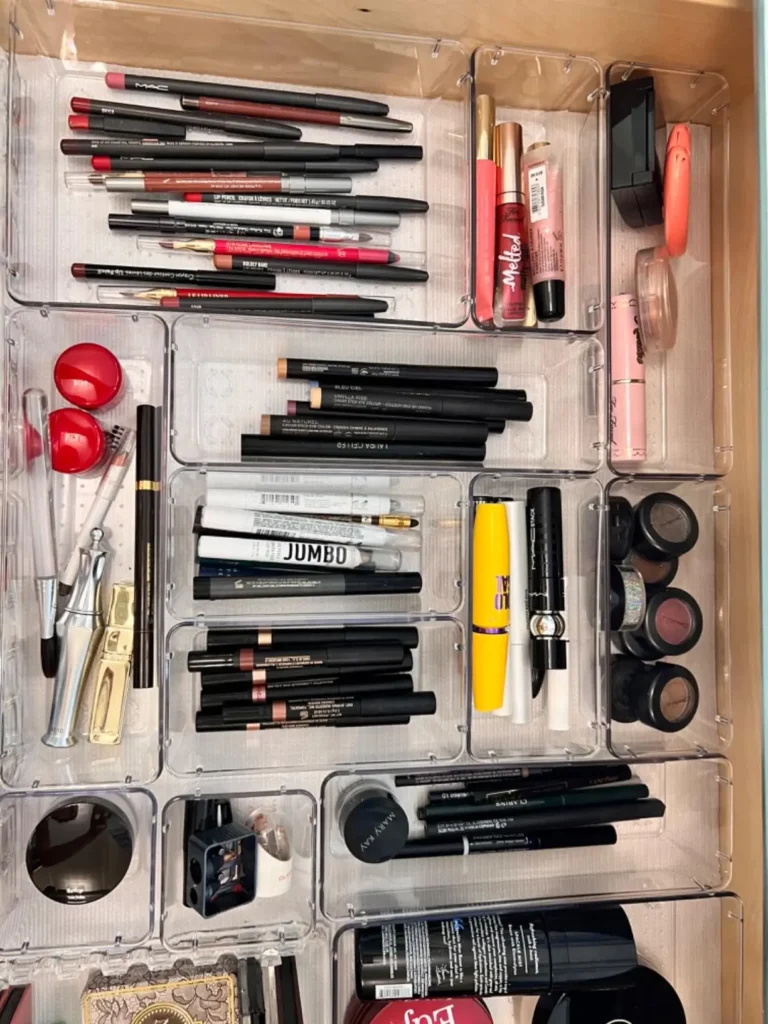
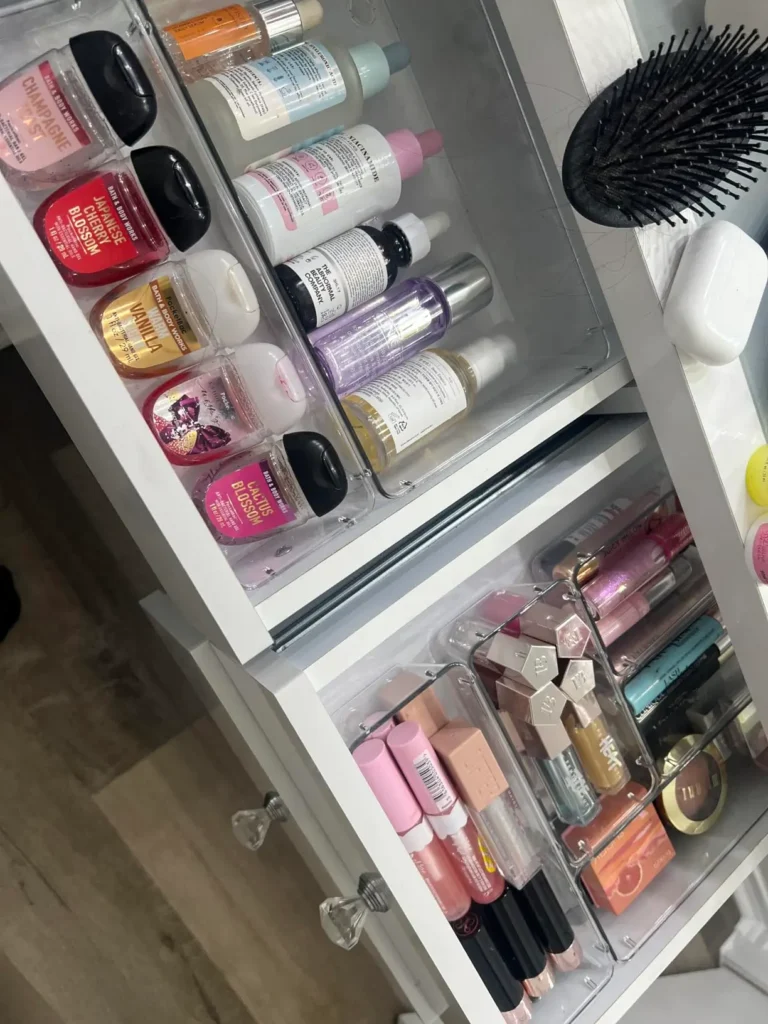
Clear Acrylic Drawer Organizers
If you store your makeup in drawers, these are a must.
They keep everything in its place, stop things from sliding around, and make it so much easier to spot your mascara without digging through a chaotic mess. I love sorting my products by category in these. One section for lips, one for face, one for eyes. Makes my morning routine so much smoother, and I don’t have to deal with cluttered drawers that stress me out before I’ve even had coffee.


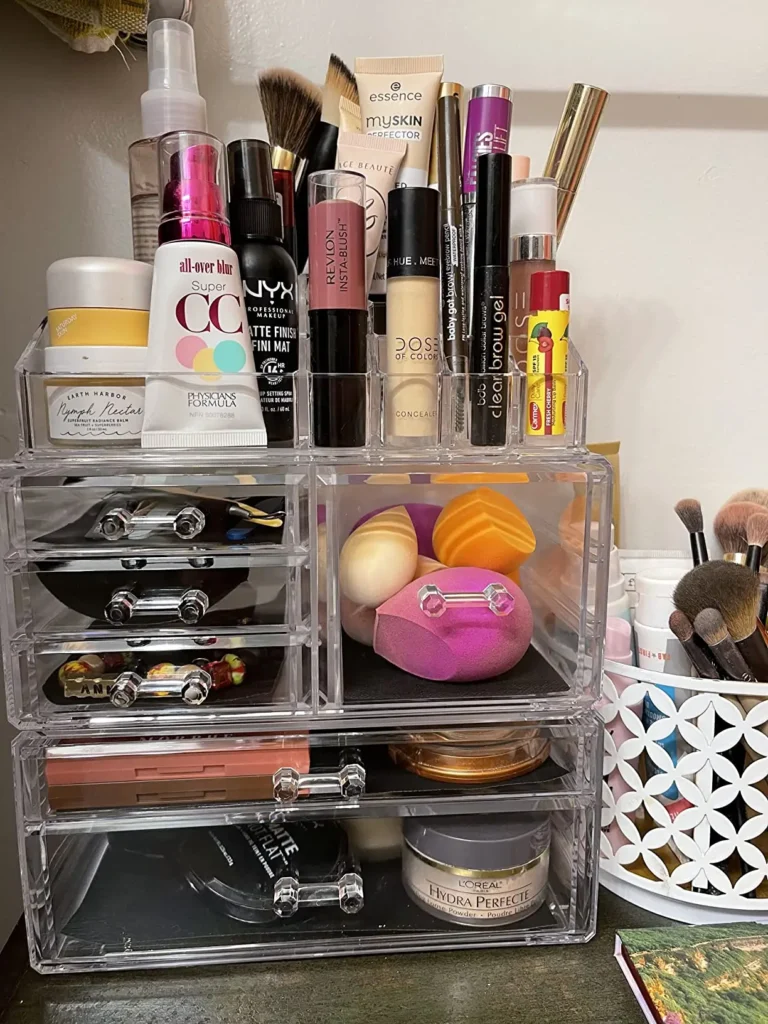
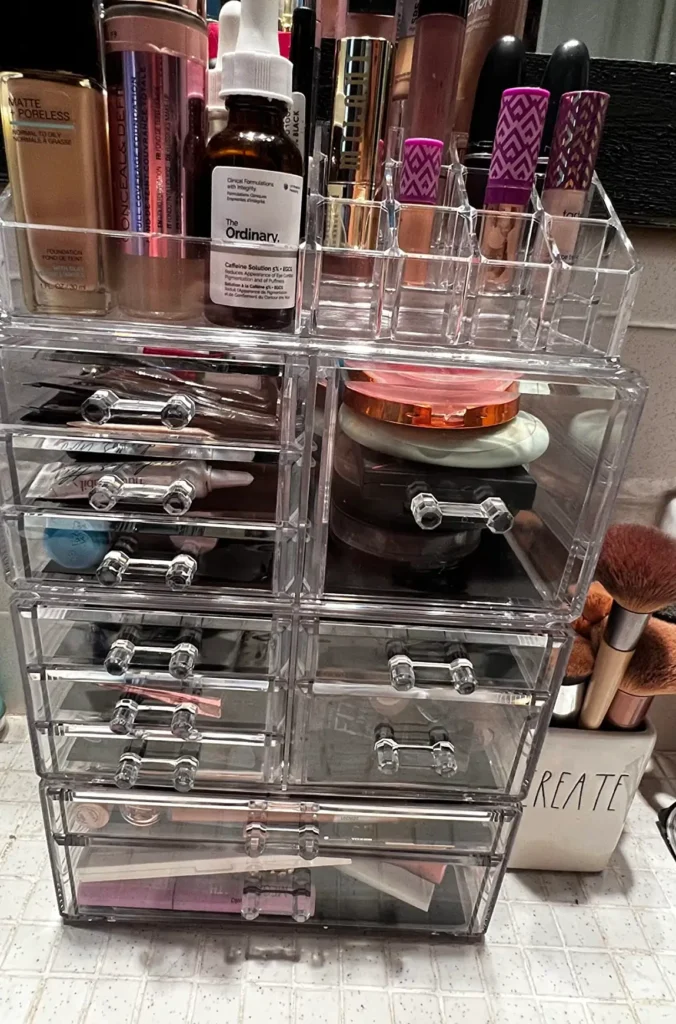
Stackable Drawer Organizers
If you’ve got a medium to large-sized collection, this is your new best friend.
These come with lots of little compartments, which means everything from mini palettes to single shadows has its place. I love that I can stack them up and adjust the layout based on how much space I have. It keeps everything visible and tidy, but still compact. Honestly, it makes my whole setup feel more put-together.

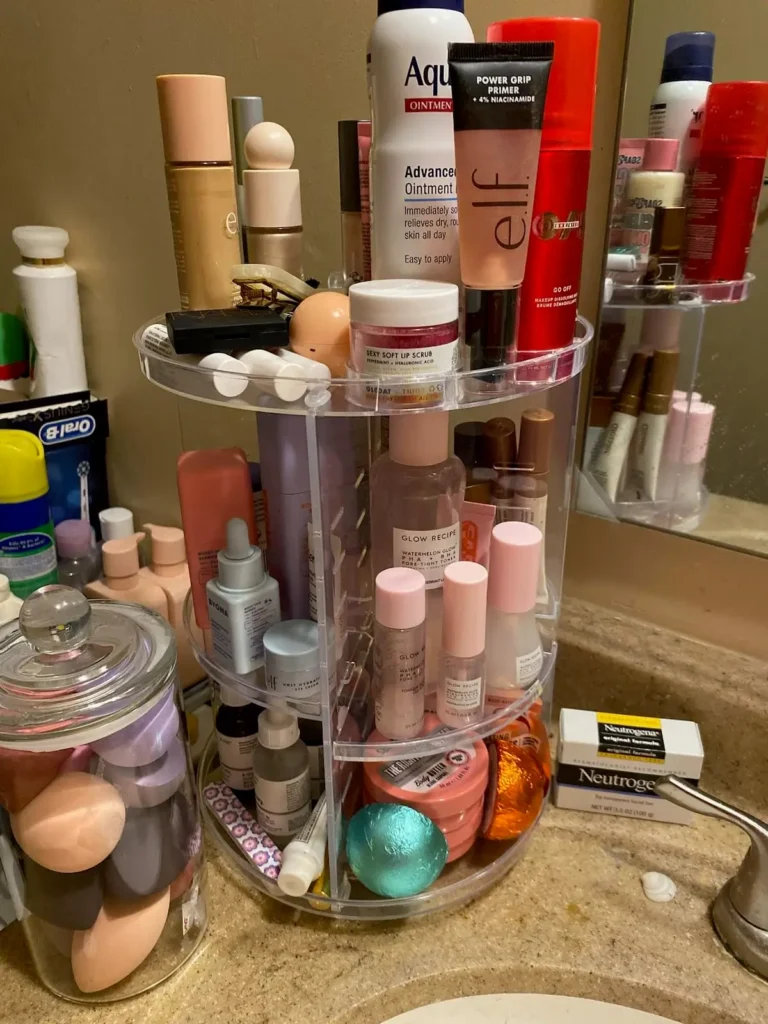
Rotating Organizer
These are surprisingly genius.
With just a little spin, you can reach everything. It’s perfect for small spaces because it doesn’t take up much room but still gives you full access to your go-to products. And it’s kind of satisfying to twirl it around like a lazy Susan for your beauty faves.

For Smaller Collections…
If you’re more of a minimalist (or just getting started with makeup), I’ve got some cute, compact organizer ideas for you too.


At the end of the day, organizing your makeup isn’t just about clearing off your counter or finding your eyeliner faster. It’s about making your space feel peaceful and personal. When everything has a place and your products feel easy to reach, you actually want to sit down and enjoy your routine.
So whether you’re decluttering five lipsticks or fifty, just know this. You’re creating a space that works for you. And that, friend, is always worth it.
Ready to start? Go grab that mystery lipstick from under the bed and let’s do this.


Leave a Reply