Disclaimer This site contains affiliate links. I may earn a small commission if you place an order through my links, at no extra cost to you.
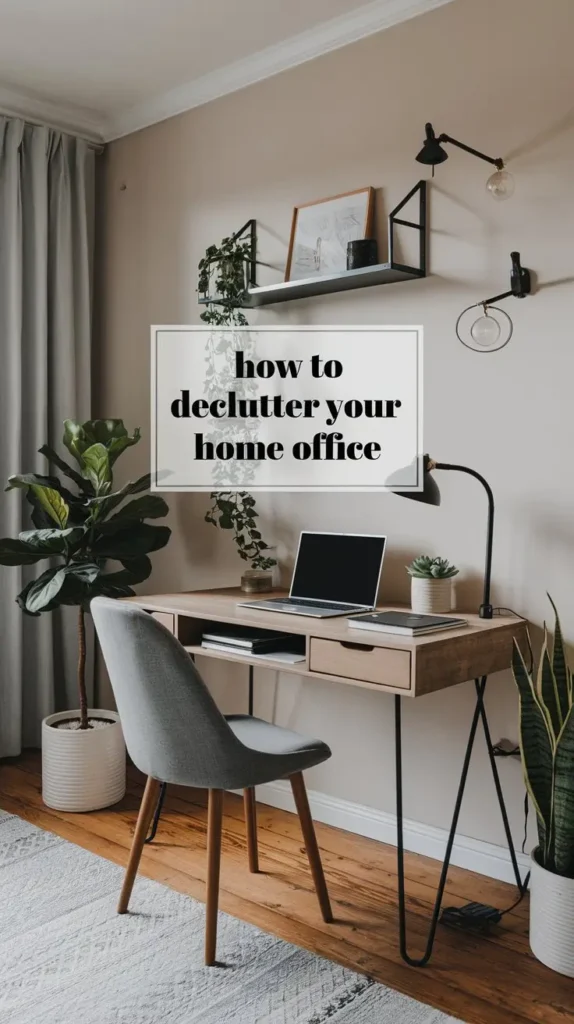
Let me tell you a little story about my home office. When I first set it up, I envisioned a serene and productive space where I could focus, create, and feel inspired every day.
I pictured a sleek desk with everything neatly organized and just enough open space to keep the room feeling airy and inviting. Fast forward a few months, and it looked more like a storage closet than a workspace.
Papers piled high, pens rolling around on every surface, random books teetering on an old shelf—it had turned into the place where everything “office-related” went to die.
If this sounds like your home office, don’t worry; you’re not alone. The good news is that with a little effort and a solid plan, you can transform the chaos into a calm, efficient space that makes you excited to sit down and work.
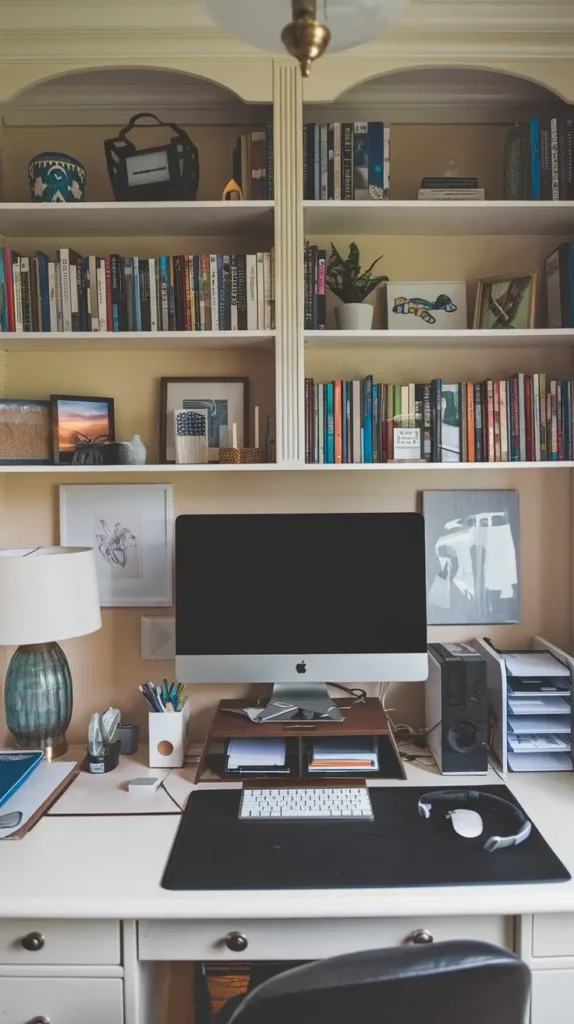
Decluttering your home office doesn’t have to be overwhelming. In fact, it can be a refreshing reset for your productivity and mindset. I recently went through the process of decluttering my own office, and I’m here to share exactly how I did it, step by step. By the end of this post, you’ll have a clear roadmap to decluttering your space and a few great product recommendations to help you stay organized long-term.
8 Steps to Declutter your Home Office
Step 1: Define the Role of Your Home Office
Before you dive into the decluttering process, it’s important to ask yourself: What is this space for? This might sound obvious, but defining the role of your home office is a crucial first step.
Is it strictly for work? A creative space for hobbies like crafting or writing? Or maybe it doubles as a quiet retreat for reading and planning.
For me, I realized my office needed to serve two purposes: a functional workspace for my job and a creative zone for occasional personal projects. Once I nailed down its purpose, it became so much easier to make decisions about what should stay in the room and what needed to go.
When you know the purpose of your space, you can start to visualize how it should look and feel. For example, if your office is primarily for work, you might prioritize a comfortable chair, a functional desk, and plenty of storage for files and supplies.
If it’s a creative space, you may want to focus on open shelving, bins for art supplies, and a big table for spreading out materials. Knowing your office’s role will also help you create a layout that supports its function and keeps clutter at bay.
Step 2: Gather Your Sorting Bins
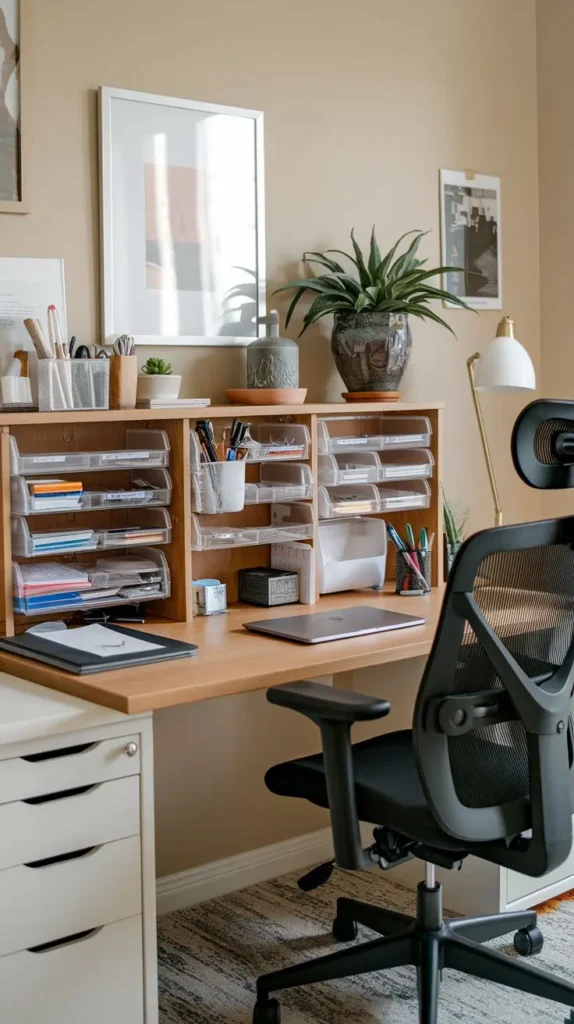
Once you’ve defined your office’s purpose, it’s time to set up your sorting system. Trust me, this step is a game-changer. Before I started decluttering, I grabbed four bins (or boxes) and labeled them:
Toss: For trash and recyclables.
Keep: For items that belong in the office.
Put Away: For things that belong in another room.
Donate: For items I no longer use or need.
This simple sorting system made the entire process so much more manageable. Instead of feeling overwhelmed by the sheer amount of stuff in the room, I had a clear plan for where everything would go. Plus, having these bins on hand kept me from just shuffling clutter from one spot to another.

Step 3: Tackle One Area at a Time
Decluttering an entire office can feel like an impossible task, so I broke it down into smaller chunks. I started with my desk because it’s the focal point of the room and the place where I spend the most time.
From there, I moved on to drawers, shelves, and finally the dreaded pile of papers on the floor. By focusing on one area at a time, I avoided feeling overwhelmed and actually made noticeable progress each day.
If you’re not sure where to start, pick the area that bothers you the most or the one that will have the biggest impact once it’s decluttered.
For example, clearing off your desk can instantly make the room feel more organized. The key is to finish one area completely before moving on to the next, so you can build momentum and stay motivated.
Step 4: Clean as You Declutter
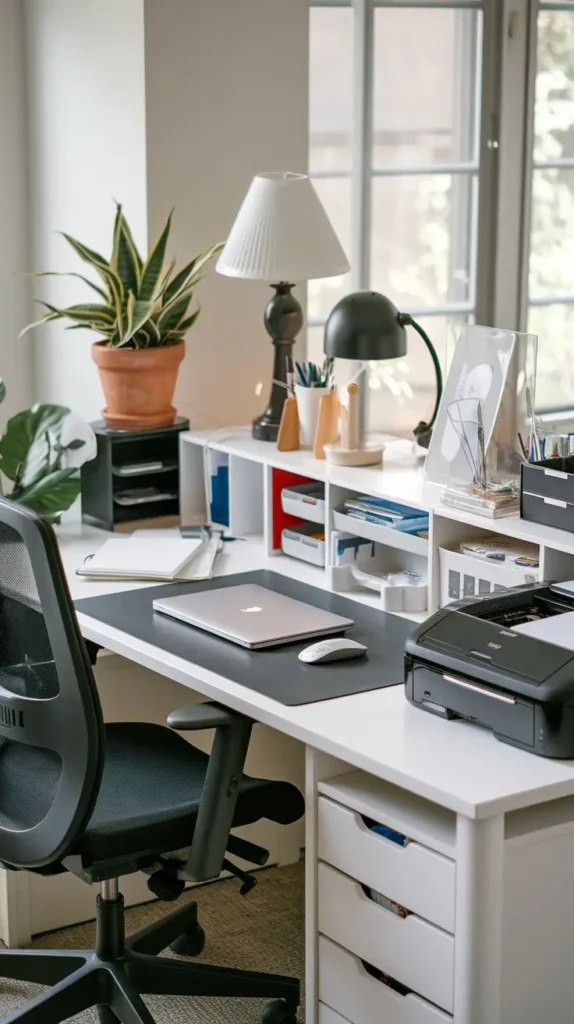
One thing I learned during this process is that decluttering isn’t just about getting rid of things—it’s also about creating a clean, inviting space. Once I emptied each section, I took a few minutes to clean it thoroughly.
A microfiber cloth and a multi-surface cleaner worked wonders on dusty shelves and grimy desk surfaces. I even wiped down my keyboard and monitor, which had been neglected for far too long.
Cleaning as you go has two benefits
it makes the space feel fresher and more enjoyable
it gives you a clean slate for organizing.
It’s so much easier to set up a beautifully organized drawer or shelf when you’re starting with a clean surface. Plus, it’s incredibly satisfying to see those sparkling clean spaces as you work through the room.
Step 5: Bring in the Right Organizers
Now comes the fun part—organizing! Once I decluttered and cleaned each area, I brought in a few key organizers to keep everything in its place. Investing in the right tools made a huge difference in how functional and tidy my office became. Here are a few products that worked wonders for me:
Drawer Organizers: These were perfect for sorting pens, sticky notes, and other small items. The SMARTAKE Drawer Organizer is a sleek option that fit perfectly in my desk drawers.
Paper Trays: I used the OUTIOE 4-Tier Paper Organizer to separate incoming mail, ongoing projects, and documents I needed to file.
Hanging File Folders: These were a game-changer for managing bills, receipts, and important papers. I highly recommend the EASEPRES Wall File Organizer for a simple and space-saving solution.
These products not only helped me organize my office but also made it easier to keep things tidy over time.
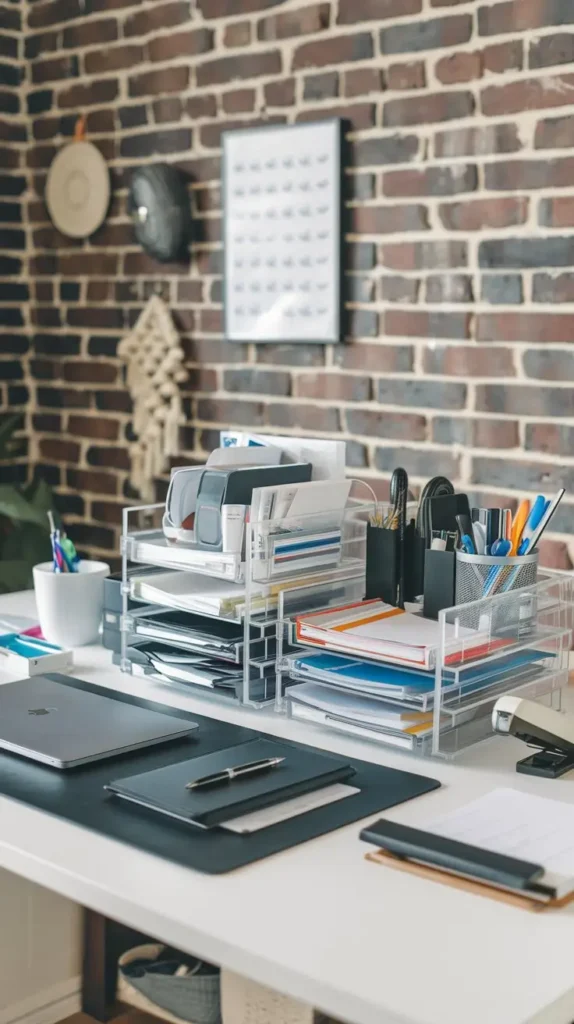
Need help picking out organizers ? check out these posts
My Top 10 Must Have Desk Organizers.
My top Picks for Acrylic Organizers
Step 6: Label Everything
This step might seem excessive, but it’s a total game-changer. Once I had everything organized, I labeled each container and drawer so I wouldn’t forget where things belonged. At first, I used sticky notes to test out the layout.
Once I was sure it worked, I upgraded to a label maker for a more polished look. Having clear labels made it easy to stay organized and find what I needed without digging through drawers.
Step 7: Declutter the Big Stuff
With the smaller items under control, it was time to tackle the bigger pieces. I took a hard look at the furniture and decor in my office and asked myself: Does this support the purpose of the space?
That old armchair in the corner? Out. The giant stack of outdated magazines? Recycled.
I even replaced my old desk with the Lufeiya L-Shaped Desk, which gave me more workspace and storage. Removing unnecessary furniture and decor made the room feel more open and functional.
Step 8: Maintain Your Organized Space
Finally, I created a maintenance routine to keep my office clutter-free. Every Friday, I spend 10 minutes tidying up—filing papers, putting away supplies, and clearing off my desk.
I also set up a designated “inbox” for incoming mail and documents, so they don’t pile up on my desk anymore. These small habits have made a huge difference in keeping my office neat and organized.
Decluttering your home office isn’t just about tidying up—it’s about creating a space that supports your goals and helps you feel productive and inspired.
Whether you’re starting from scratch or just need to reset your space, these steps will guide you through the process. Take it one area at a time, invest in the right tools, and remember to maintain your progress with simple daily habits.
Your dream office is just a few steps away—let’s get started!

Leave a Reply