Disclaimer This site contains affiliate links. I may earn a small commission if you place an order through my links, at no extra cost to you.
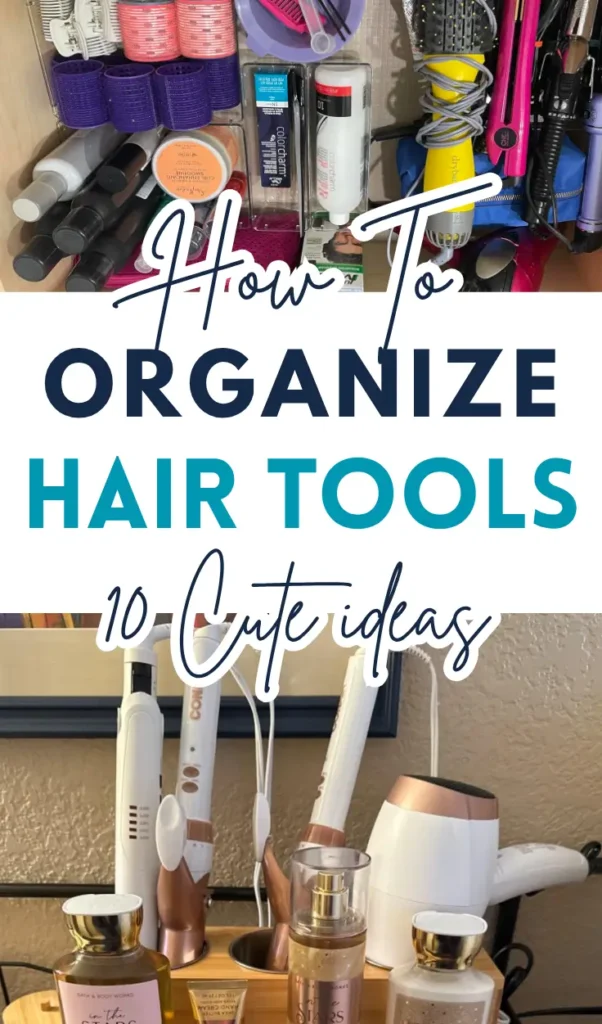
Tired of messy drawers and cluttered countertops? Same here. For the longest time, my bathroom looked like a hot mess of cords, brushes, and random tools. I’d be holding my curling wand in one hand, trying not to trip over my blow dryer cord with the other.
Sound familiar? You’re not alone. Figuring out how to organize hair tools can feel overwhelming, but it doesn’t have to be. Once your setup makes sense, your mornings get easier. No more digging for your flat iron or untangling cords while your coffee gets cold.
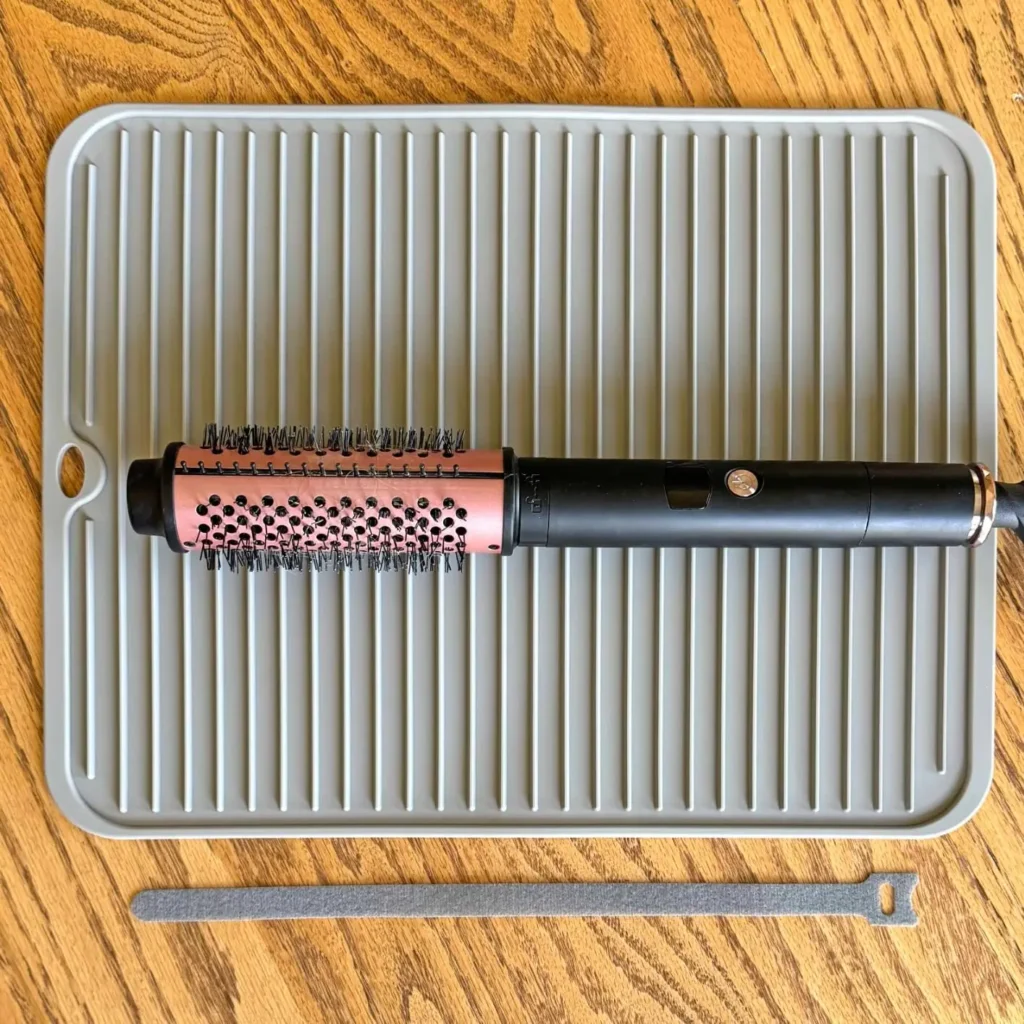
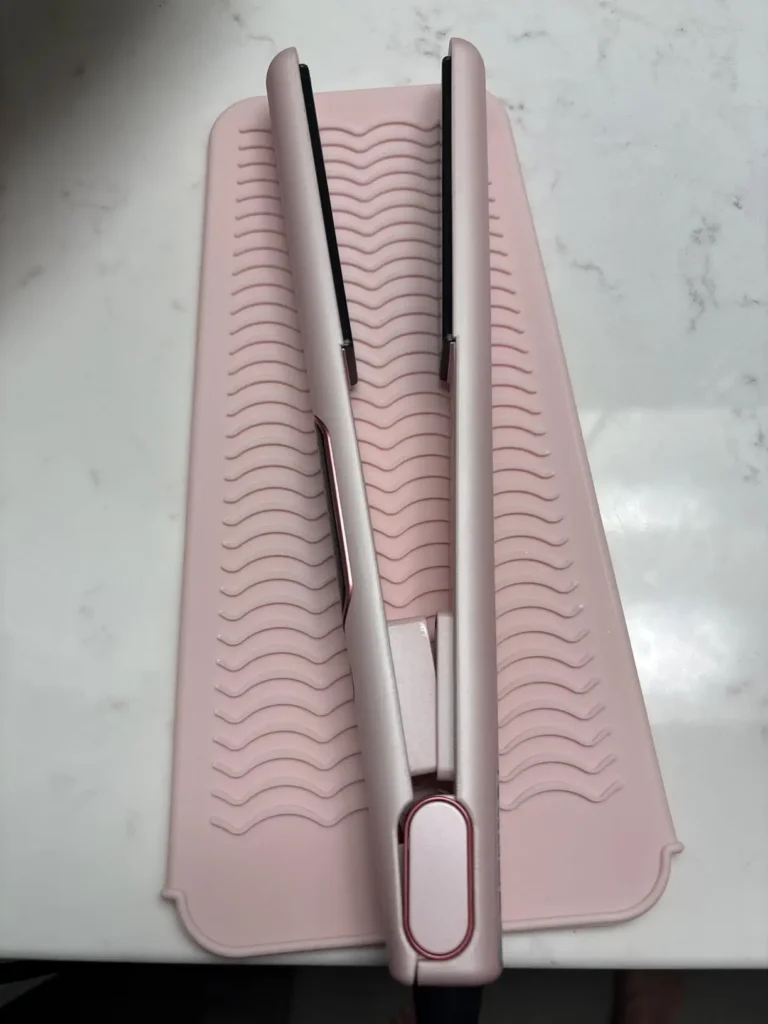
Before we jump in, let me share one thing that totally changed my routine. It’s a silicone heat mat. I used to have this low-key fear of burning my countertops every time I used hot tools. Now I just set them on the mat and carry on without stress. It’s small, but seriously life-changing.


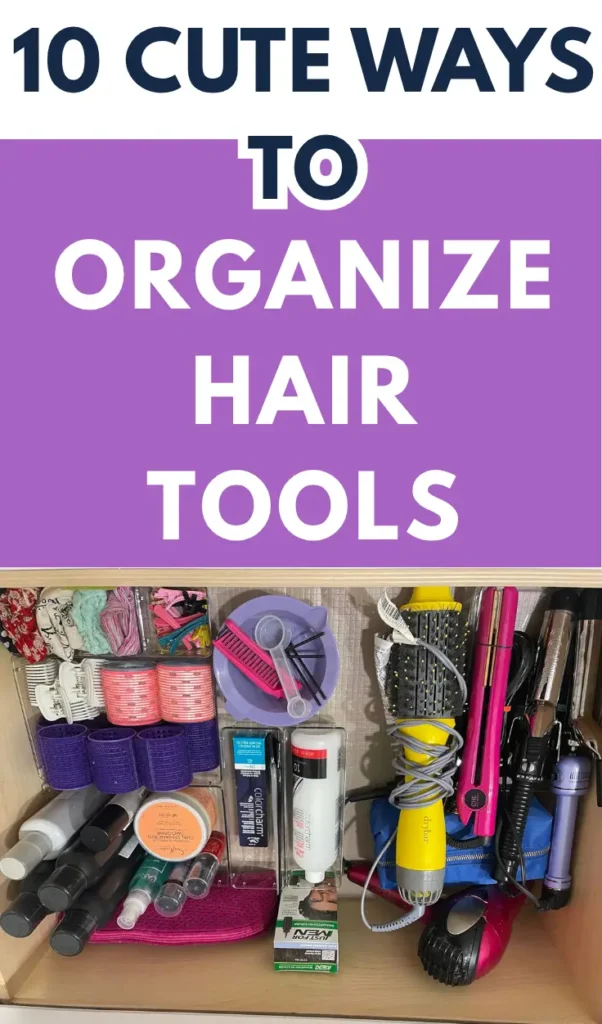
Alright, ready to tackle the clutter? Here’s exactly how to organize your hair tools in a way that makes your space feel calmer and your mornings run smoother.
1. Take Inventory and Declutter
Step one is to get real with what you have. Pull out every hair tool and accessory from drawers, bins, cabinets, wherever they’re hiding.
Look at each item and ask yourself, do I use this? If it’s broken, collecting dust, or gives you more stress than good hair days, it might be time to let it go. I once found a mini crimper I hadn’t used since college. Cute memory, but into the donation pile it went.
You don’t need five curling irons if you only ever use one. Clearing out the extras gives you space to actually enjoy the things you do use.
2. Sort by Use or Routine
Once you know what you’re keeping, figure out how to group everything in a way that fits your lifestyle.
Here are some ideas:
- By frequency: Keep everyday tools front and center. Stash away special occasion items.
- By type: All brushes in one spot, all heat tools in another, styling sprays and accessories grouped together.
- By routine: Think “wash day,” “quick morning,” or “date night glam.” It’s like creating little stations for each kind of hair day.
I like to keep my go-to items on the counter in a caddy and tuck the rest under the sink in a bin. No stress, no clutter.
3. Choose the Right Storage Solutions
Now for the fun part. Let’s find the perfect home for each tool. The right organizer makes everything easier.
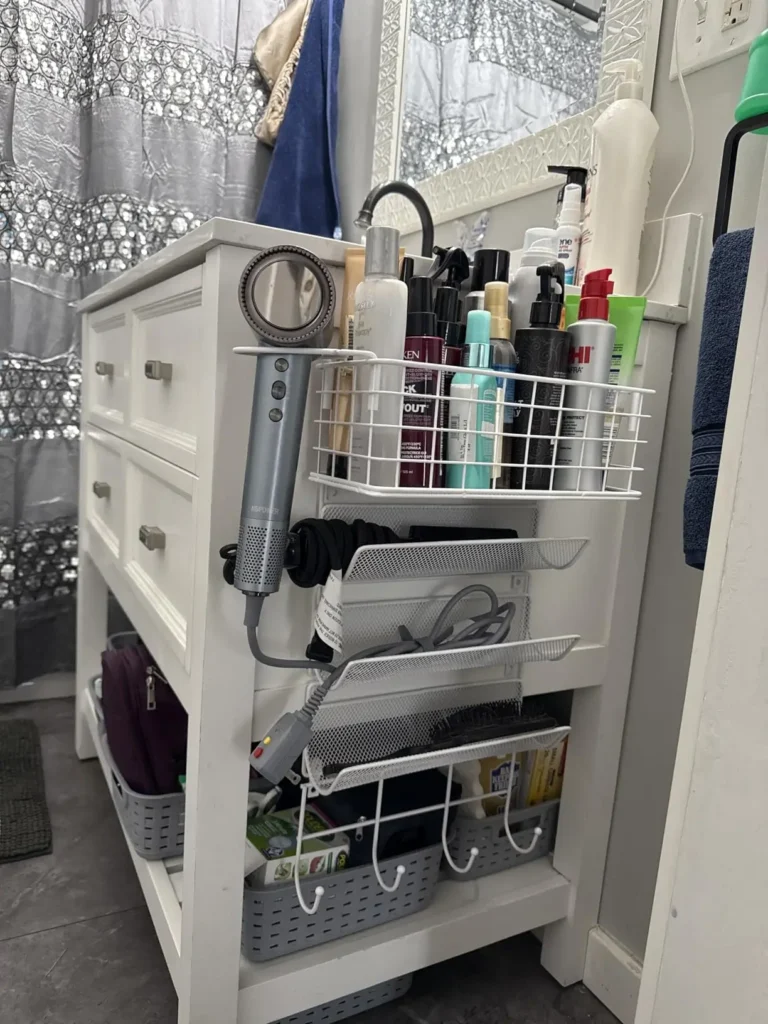
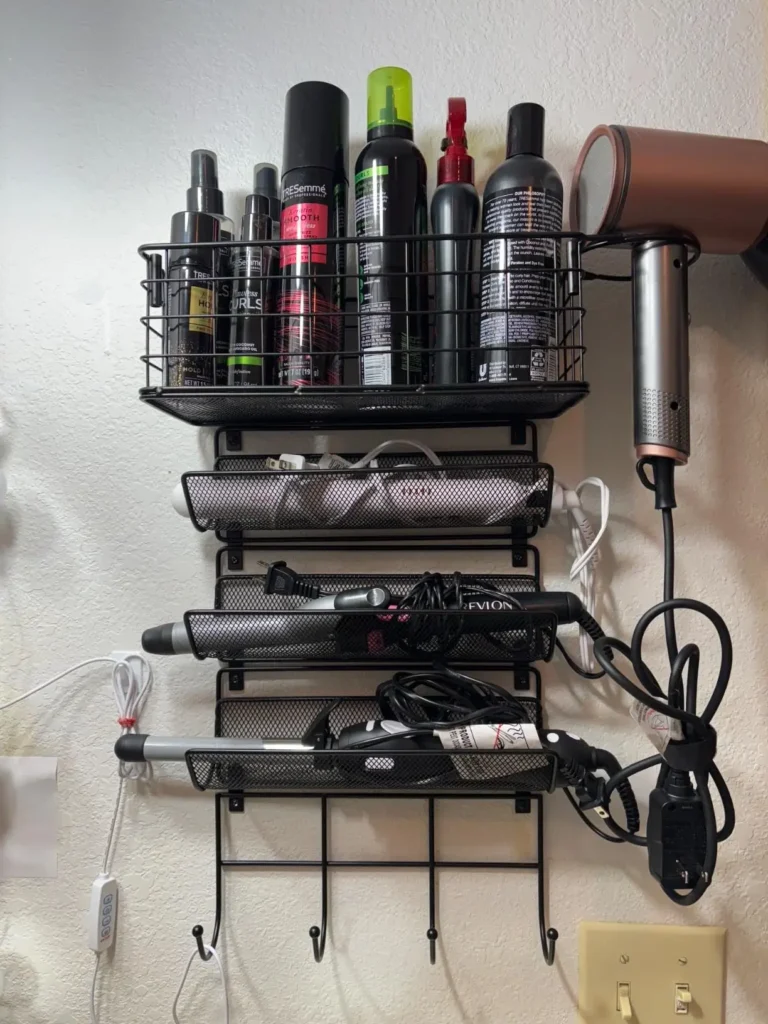
4 Shelf Wall Mounted Organizer
This is by far my favorite among all the options. I have a small bathroom so I will take all the space saving solutions I can get . You can mount this organizer on you wall or on the side of your cabinets as shown below. plus there is a little basket included so you can store all your hair products.

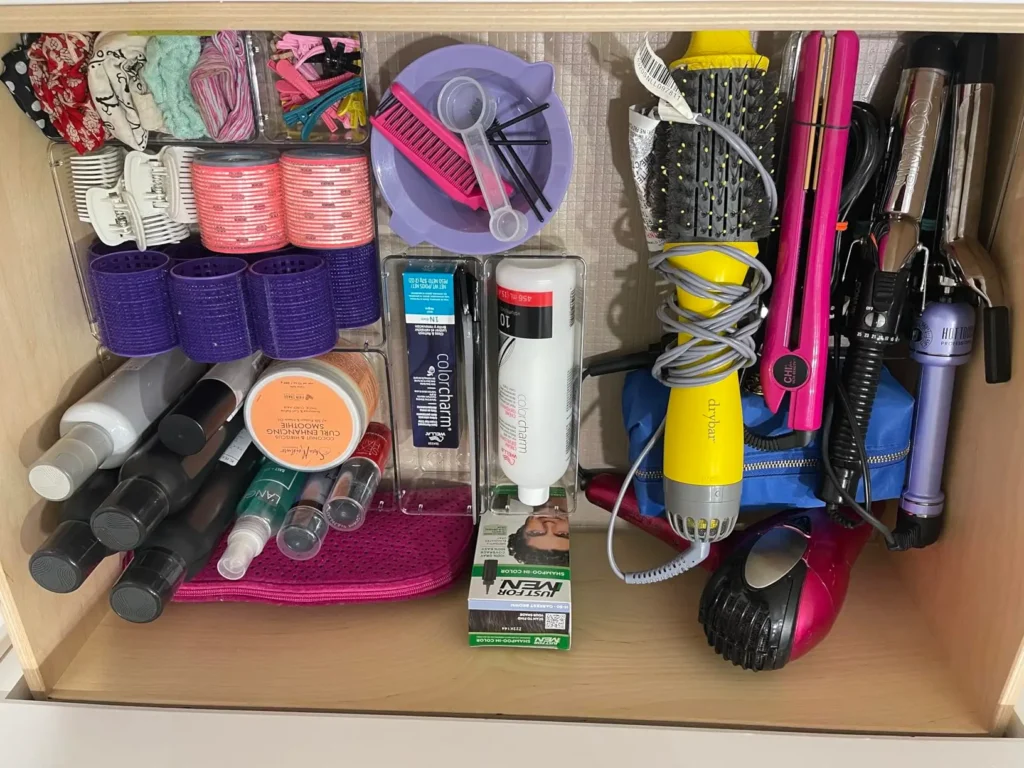
Drawer Organizers
If you’ve got drawer space, this is the cleanest setup. Use dividers, silicone sleeves, or heat-safe trays to keep tools from rolling around or getting tangled.
This is perfect if you like everything tucked away. Just open the drawer and grab what you need.


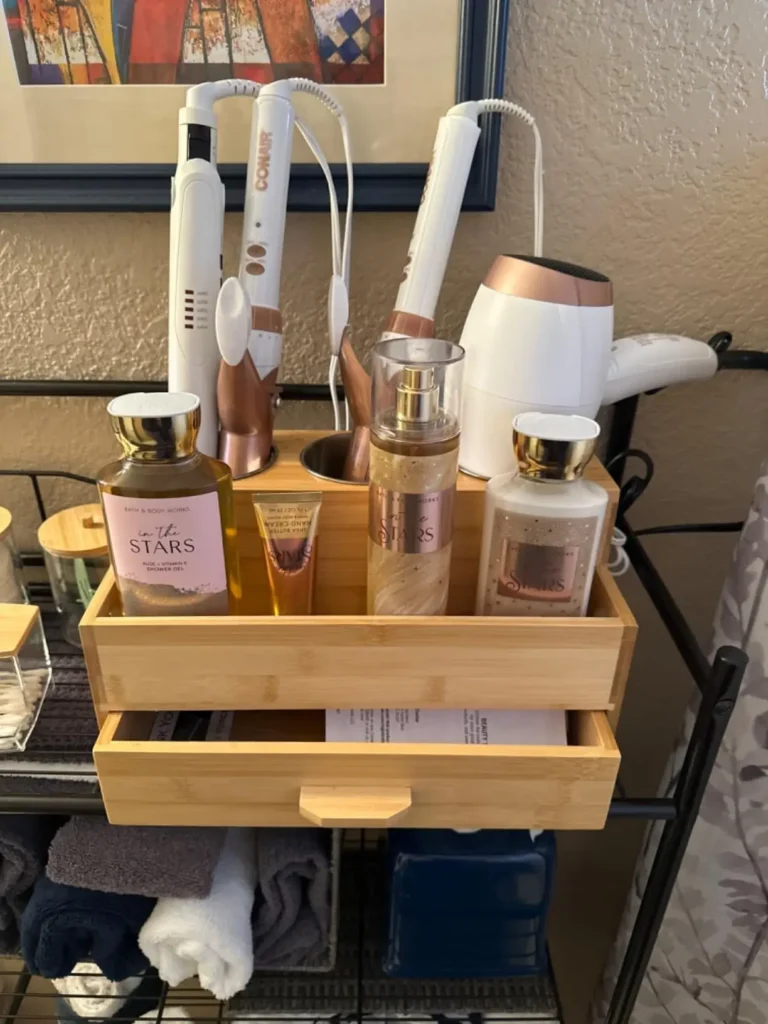
Countertop Caddies
No drawer space? No problem. A countertop caddy is perfect for daily tools. I use a bamboo one with slots for my straightener, blow dryer, and curling wand. It even has a compartment where I keep heat protectant and dry shampoo.
It keeps everything in reach and looks really cute while doing it.

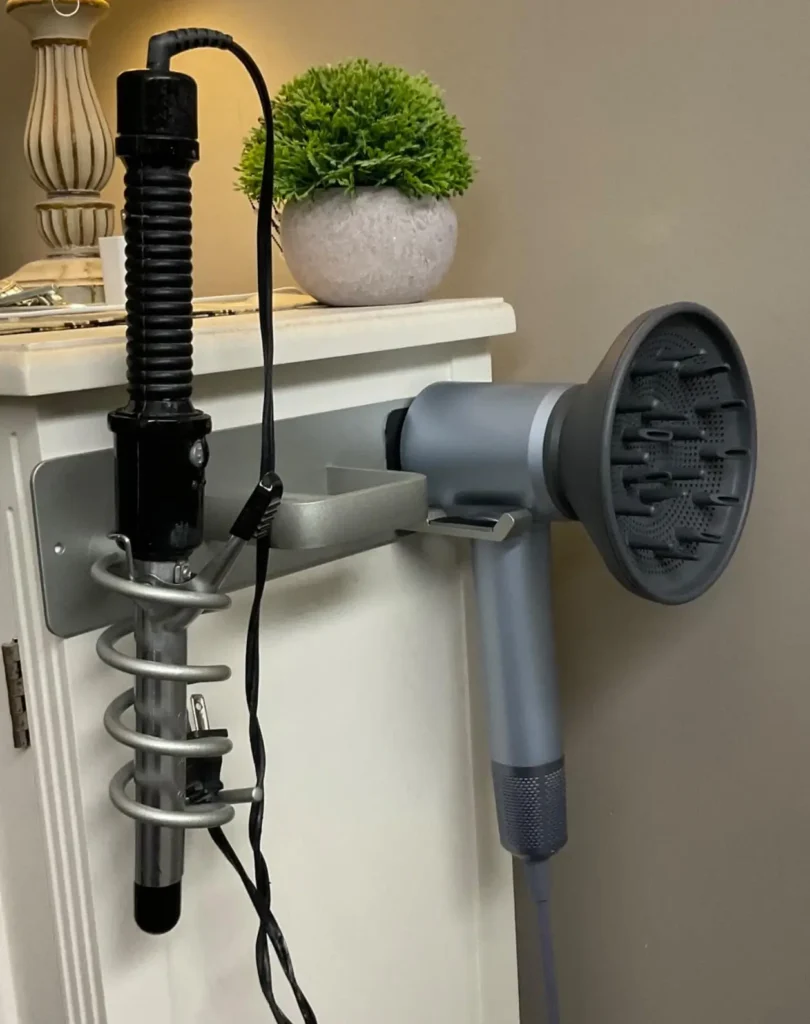
Wall Hooks or Racks
Small space? Wall hooks are your best friend. Mount a few next to your vanity or on the bathroom wall and hang your tools by the handle or cord. You can also use a metal rack or command hooks if you want a renter-friendly option.
It keeps your counters clear and your tools organized. No more cords sliding into the sink.

Over-the-Door Organizers
These are great for behind cabinet or bathroom doors. I use one that has compartments for my tools, cords, and even extra brushes.
It’s perfect if you’re low on cabinet or drawer space but still want everything within easy reach.

4. Keep It Organized Long-Term
Setting it up is one thing. Keeping it tidy is the real challenge.
Here’s what helps me:
Cord wraps or clips: These are tiny lifesavers. I use them to keep cords neat and stop the annoying tangles.
A five-minute reset once a week: Sunday night is my little reset moment. I just put everything back in place and give the counter a quick wipe. That’s all it takes.
Staying organized doesn’t mean you have to be perfect. It just means you’ve got a system that helps you breathe easier.
Learning how to organize hair tools is more than just tidying up. It’s about creating a calm, functional space that makes your routine smoother and your day start on a better note.
When everything has a place, you spend less time searching and more time actually getting ready. You feel more in control, less rushed, and honestly, a bit more put-together.
Whether you’ve got a small space, tons of tools, or just a few favorites, there’s a solution that works for you. Start small, find what fits, and make it your own.
Need more organizing tips? I’ve got plenty more ideas waiting for you on the blog
Now go give your hair tools the little makeover they deserve.


Leave a Reply